This year my partner and I are making a living by hosting workshops in East Asia, Europe, and the Americas. The workshop is called “Patterns for Decentralised Organising”. It’s all about collaboration, participatory organising, and working together without hierarchies. We have been looking for a format that matches our content. It would be pretty ironic if we stuck with the traditional “teacher talks and learners listen” format.
On our travels we’ve picked up techniques from other practitioners, read about the neuroscience of learning, and experimented a bunch. Now we have a toolkit of workshop formats that feels awesome: learners love it, and it’s easy for us to remix for different venues, audiences, and timings.
The most important resource for me was reading Training From the Back of the Room by Sharon Bowman. It’s a very clever and practical book. The main thing I remember is that a good learning experience has 4 phases:
Most people can’t focus for more than 20 minutes at a time, so we try to keep changing modes every 20 or 30 minutes, even just for a quick stretch. These different modes suit people’s different learning styles: at times we’ll be working alone, in pairs, in small groups, or all together. People spend some time talking, listening, writing, reading, sitting still, and moving.
A typical workshop for us looks like:
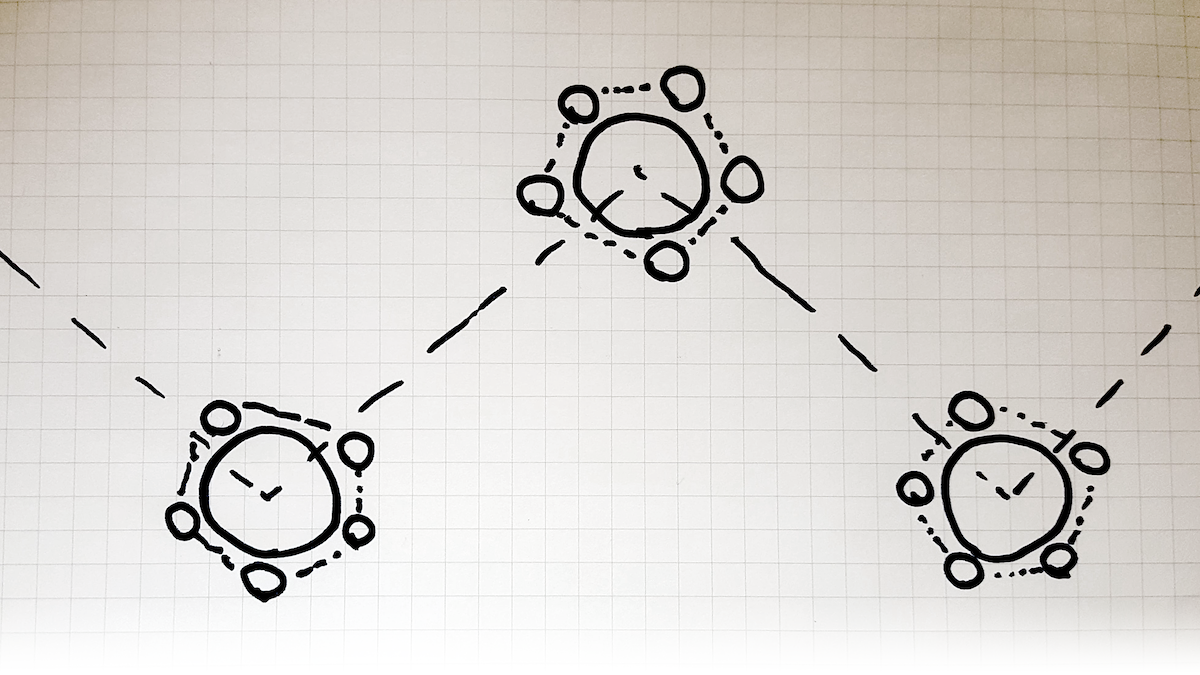
As soon as people arrive, we direct them to join small groups distributed around the room. At each work station is a short instruction set and a big piece of paper.
The paper has an X-Y chart on it: one line marked positive and negative, the other marked hierarchy and collaboration. The instructions tell folk to introduce themselves to each other, and then share some of their experiences with the topic. Here’s the instructions we use:
People learn better when they can bounce ideas with someone they trust. This exercise gets people to connect with each other, and connect with what they already know on the topic: the mental filing cabinet is open to Different Organising Styles.
It accommodates for people arriving at different times too, so there’s no awkward/boring milling around while we wait for everyone to arrive.
After 10 or 15 minutes, we’ll get everyone to wrap up and gather into a big group. This is when we introduce ourselves, sketch out the agenda, and explain our hosting style (e.g. everything is an invitation, it’s totally cool to pass).
Then we give everyone a handout, and ask them to take a minute to write down one thing they want to learn today. Imagine you’re walking out of here and you’re delighted with the workshop - what did you learn?
This quick exercise is intended to activate people into self-directed learning mode, rather than consumer learning mode.
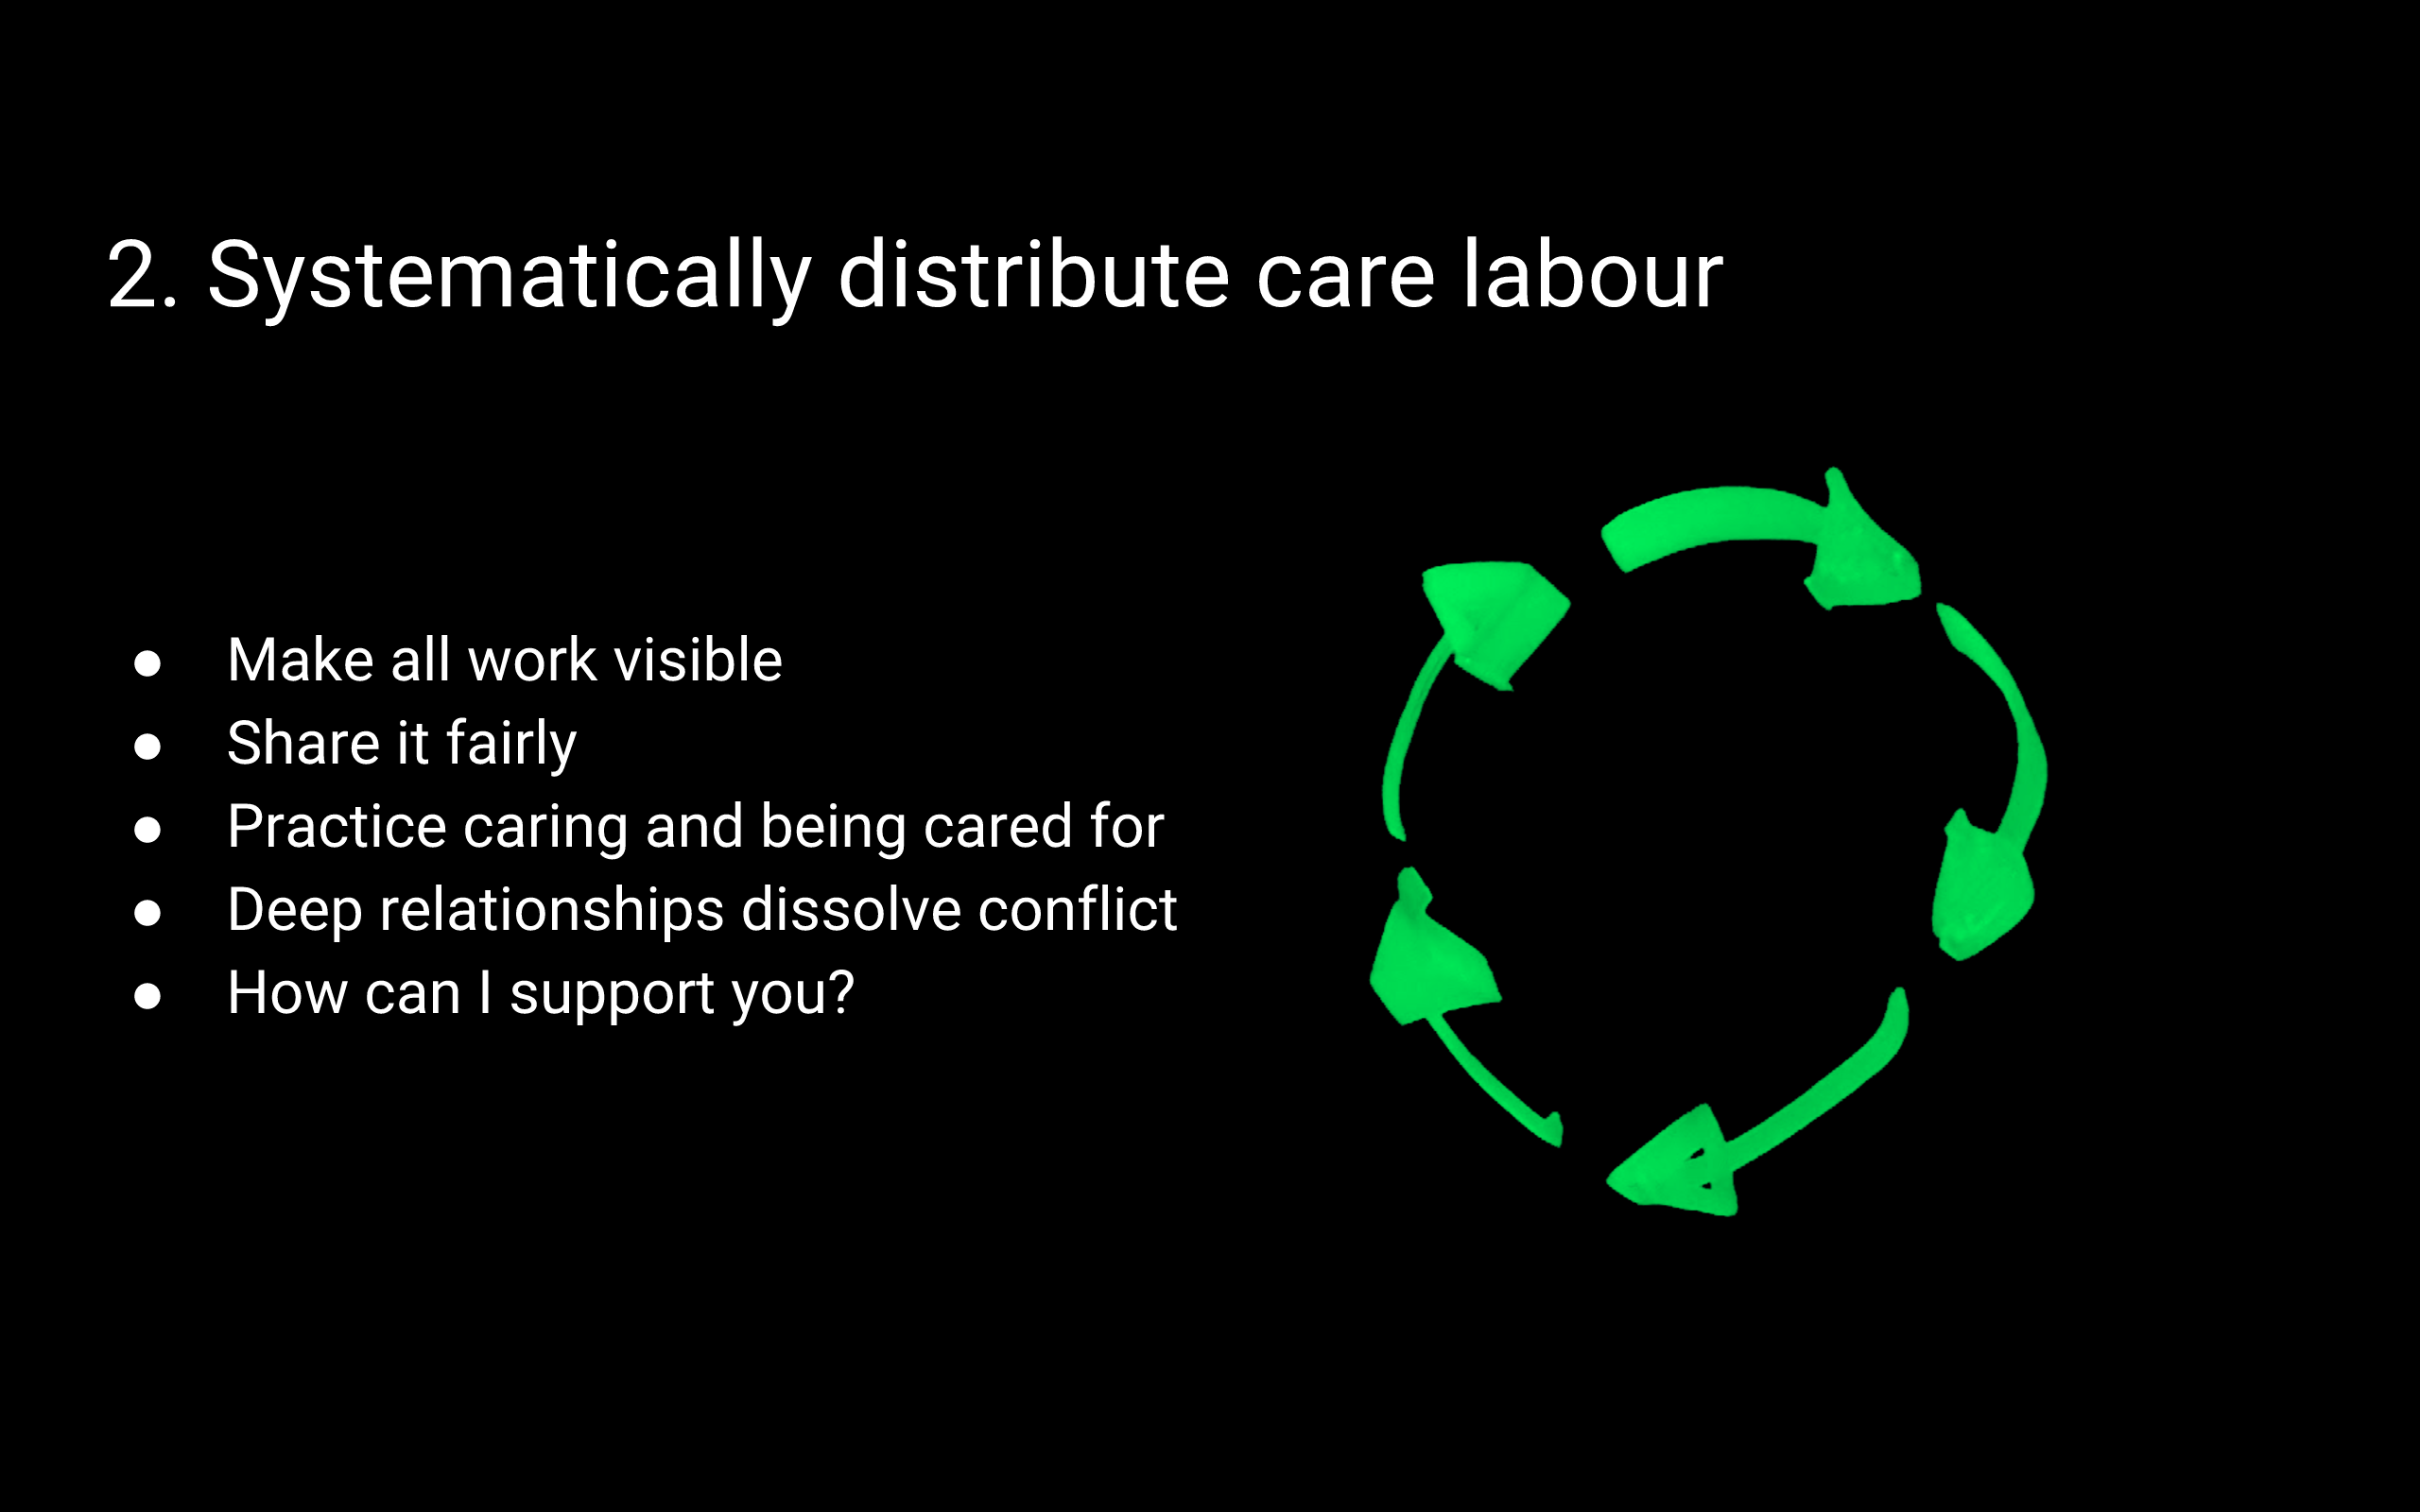
For this phase, we do a pretty standard presentation, combining storytelling with some abstraction. Stories are accessible, concepts are translatable. Our slides include a graphical symbol representing each concept, along with bullet points with the key information.
Even if the content is amazing, you can see people start to zone out after about 20 minutes. So if we need to deliver more than 20 minutes of content, we’ll break up the lecture with exercises to keep the brain active. Here’s an exercise we call “pair reflection”: everyone stands up, facing each other in pairs. One person stretches, the other person mimics them. While stretching, you share one or two points that struck you about the lecture so far. After 2 minutes, switch roles.
This is fun, easy, quick, and keeps everyone’s brains in optimal learning mode. Movement gets more oxygen into your brain, which flushes out that sluggish feeling.
After the presentation, instead of a straight Q&A which can be time consuming and disengaging, we get people into small groups. We’ll say something like some of your colleagues will have the answers already, so spend a few minutes sharing questions and answers at your table. Then choose 2 or 3 questions per table that you want us to answer for the benefit of the whole room.
This is a really good format for cutting through blowhards and getting people to think about ‘what question is good for the group’, rather than ‘how can I let the room know how great I am’.
We get folks to practice collaborative ways of working throughout the event. E.g. in the small group Q&A, people are practicing collective decision-making and co-creating solutions from people around them.
After Q&A we move into “Challenge Marketplace”. We ask volunteers to share a real collaboration challenge they’re facing in a group they work with. Then we use a collective intelligence process (like dot voting or pair-wise ranking) to choose the most interesting challenges. Once we have a shortlist of challenges, we break people up into teams: one small group per challenge. Each team gets these instructions:
Form a team of up to 5 people. The team host describes a challenge they are facing: this is what we are trying to achieve together; this is what is getting in the way.
The team works together to codesign a solution. Can you apply any of the Collaboration Patterns to this challenge? Do other members of the group have relevant experiences to share?
Give everyone space to participate.
You can take notes on this sheet and nominate a reporter who will share it back with the whole group.
This session is the “main event” where people can practice the key skills of collaborative organising:
If I told you that the essence of non-hierarchical organising is “talk about your problems and figure them out together”, you might look at me blankly. But if I can get you to practice it a few times, you might find you agree.
I think people need to leave an event with some very clear takeaways. When your spouse or friend asks you “what did you do in that workshop,” it’s pretty unsatisfying to answer “uhmmm we did some weird participatory processes and this Kiwi guy told us stories in his funny accent.”
People retain information better if they write it down. So for our workshops, we guide people to note down their own conclusions on the handout sheets, which have a few different components. In addition to the ‘learning goal’ from the start of the event, we ask people to write down one ‘insight’ (new discovery) and one ‘action’ - a commitment to doing something new tomorrow. The handout also includes notepaper divided up into 8 sections to match the 8 presentation slides, with instructions to note down the key points that struck you and how you can apply this to your group.
Finally, there’s a Resources section: is a big list of links to websites, wikis, blogs, email addresses, etc. so folks have plenty of places to continue learning after the event.
So that’s it, 4-steps to design a training workshop with neuroscience: Connections, Concepts, Concrete Practice, and Conclusions. These phases don’t have to be sequential, you can chop back and forth. We’ve found that our workshops feel “incomplete” if they don’t hit all 4 stops though.
This post is essentially just unpaid advertising for Susan Bowman’s book Training From the Back of the Room so if you want to learn more about the science or the design process, that’s the first place to look. If you want more ideas for group processes you can try in workshops, check out this guide in the Enspiral Handbook, this one from Liberating Structures, and this sweet resource from Hyper Island. If you want to participate in one of our upcoming workshops, check my website.
p.s. this story is licensed in the public domain, which means you can do whatever you like with it. If you want to reproduce this work, you can find different file formats on my website.
p.p.s. If you want to encourage me to keep writing: please recommend this story, and if you’re able, give me money on Patreon.